
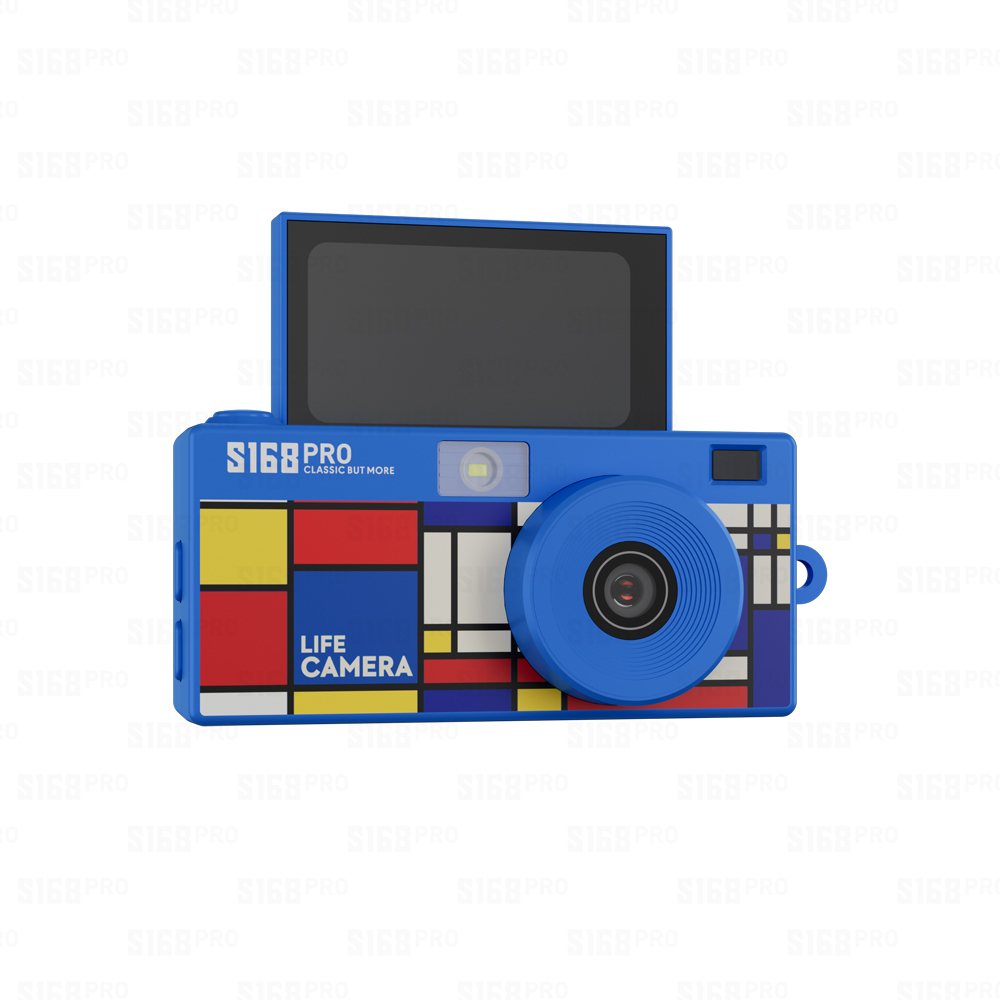
The Anytek X28 dash camera is a high-definition, user-friendly vehicle recorder designed for daily driving safety, accident evidence recording, and road scenery capture. Featuring compact size, stable recording performance, and easy plug-and-play design, the X28 model supports DIY installation without professional tools or complicated wiring. This complete guide will walk you through the full installation process, angle adjustment, system settings, and post-installation checks to help you set up your Anytek X28 dash camera correctly.
1. Pre-Installation Preparation
Before starting the installation, prepare all standard accessories and simple tools to ensure a smooth and tidy setup:
- Original Accessories: Anytek X28 dash camera main unit, mounting bracket, adhesive pad/sucker mount, USB power cable, car charger
- Auxiliary Tools: Plastic pry tool (for hidden wiring), cable clips, cleaning cloth
- Pre-Check: Verify the camera is fully functional, and prepare a compatible Class 10/U3 TF memory card (max support as device specification) for loop recording storage
2. Best Installation Position Selection
Choosing a proper position ensures unobstructed driving vision and optimal recording angle, which is the key to stable daily use:
Install the Anytek X28 dash camera on the upper central area of the front windshield, behind the rearview mirror. This position does not block the driver’s sight, avoids windshield black dot adsorption failure, and captures the full front road view with balanced horizon framing. Do not install it on the windshield black granular area or the driving main viewing area to prevent falling off and visual obstruction risks.
3. Step-by-Step Anytek X28 Dash Camera Installation
Step 1: Clean and Fix the Camera Bracket
Wipe and dry the selected windshield position thoroughly to remove dust, oil stains, and water vapor, ensuring firm adhesion. Attach the bracket firmly to the clean position, press it tightly for 10–20 seconds to eliminate air gaps, and let it stand for a few minutes for better stability. Then clip the Anytek X28 main camera onto the fixed bracket to complete primary positioning.
Step 2: Hidden Cable Routing
For a neat and safe interior layout, adopt hidden wiring for the power cable:
Route the USB power cable along the gap between the windshield and the roof trim, then pass through the A-pillar interior panel and door rubber seal, and finally lead the cable down to the car cigarette lighter area. Use a plastic pry tool to gently tuck the cable into the gaps—no need to disassemble car parts or damage vehicle interior. Fix loose cables with cable clips to avoid shaking and abnormal noise during driving.
Step 3: Connect Power Supply
Plug one end of the USB cable into the Anytek X28 dash camera power port, and connect the other end to the original car charger. Insert the car charger into the vehicle cigarette lighter socket. The X28 camera will auto-power on and start recording once the car engine starts, and auto-save files & power off when the engine shuts down, realizing intelligent automatic recording.
Step 4: Adjust Recording Angle
Power on the camera and fine-tune the lens angle. Ensure the screen horizon line is at the lower 1/3 of the frame, covering the full front road, vehicle front end, and both side road conditions. Avoid excessive sky or ground in the frame to guarantee effective evidence capture for road accidents and driving events.
4. Initial System Settings for Anytek X28
After physical installation, complete basic settings to optimize recording performance:
- Memory Card Initialization: Format the TF card for the first use to ensure stable loop recording and avoid file errors
- Loop Recording Setup: Enable loop recording function (1/3/5 minutes optional) to automatically overwrite old files and save storage space
- G-Sensor Sensitivity: Adjust gravity sensor sensitivity to lock emergency video files automatically during collision or sudden braking
- Time Calibration: Correct the system time to ensure accurate video file timestamp
- Night Mode: Turn on WDR night vision mode for clearer low-light driving recording
5. Post-Installation Inspection & Maintenance Tips
- Check all cables are fully hidden and fixed without sagging or jamming, ensuring no impact on vehicle door closing and interior use
- Test startup, recording, and shutdown functions repeatedly to confirm normal intelligent power on/off performance
- Regularly clean the camera lens dust and check card storage status to avoid recording interruption
- Avoid exposing the camera to long-term high-temperature sun exposure to extend service life
6. Common Installation & Usage Troubleshooting
- Camera falls off easily: Re-clean the windshield, replace the adhesive pad, and avoid installing on black frosted areas
- No automatic recording: Check power cable connection and cigarette lighter power supply stability
- Blurry video: Wipe the lens clean and enable WDR/night vision function
- File cannot be saved: Format the memory card or replace a qualified U3 high-speed card
7. About Anytek Factory
Anytek is a professional manufacturer and factory specializing in dash cameras, security surveillance cameras, and vehicle electronic products. We focus on independent R&D, quality control, and mass production, providing high-cost-performance vehicle recording devices for global users. All Anytek products undergo strict factory testing, featuring stable performance, easy installation, and durable quality.
We support global wholesale, OEM/ODM customization, and one-stop product solution services. For product consultation, bulk procurement, technical support, or cooperation demands, welcome to contact Anytek factory directly for competitive factory prices and professional after-sales service.